
One of my close friend had just moved in to his beautiful new house and decided to throw a nice bbq dinner.
When we were talking about it and looking at bbq pits, the idea struck our heads (me being a typical "why buy when you can built one", turns out he is just another hands on junkie) lets just build a pit!
So we picked last weekend to construct the pit, ill let the pictures do the talking....
From here on my hands were really tied down (no picture taken during this process) as it was not easy making the zinc shape the way you want it to...after all the pain, cuts and back ache, below is the end results.
As this was the first time for both of us to construct this piece of art, i took us the whole day to complete, several cans of beers, several cups of coffee, and most importantly a big fat bag of laughter and joy.
The end results made it look like as if it had eyes..haha...its actually an opening to place the charcoal so we dont have to remove the top part when we want to top up the charcoal.
All in all, very satisfied with the results and wait to see this in action!
When we were talking about it and looking at bbq pits, the idea struck our heads (me being a typical "why buy when you can built one", turns out he is just another hands on junkie) lets just build a pit!
So we picked last weekend to construct the pit, ill let the pictures do the talking....
 |
| Blueprint - all great ideas starts on a paper (ignore the right diagram, that's a multi layered pit) |
 |
| Angle Line used to construct the main structure |
 |
| The Smith doing what he does best - playing with his man toys - referring to the power tools of course! |
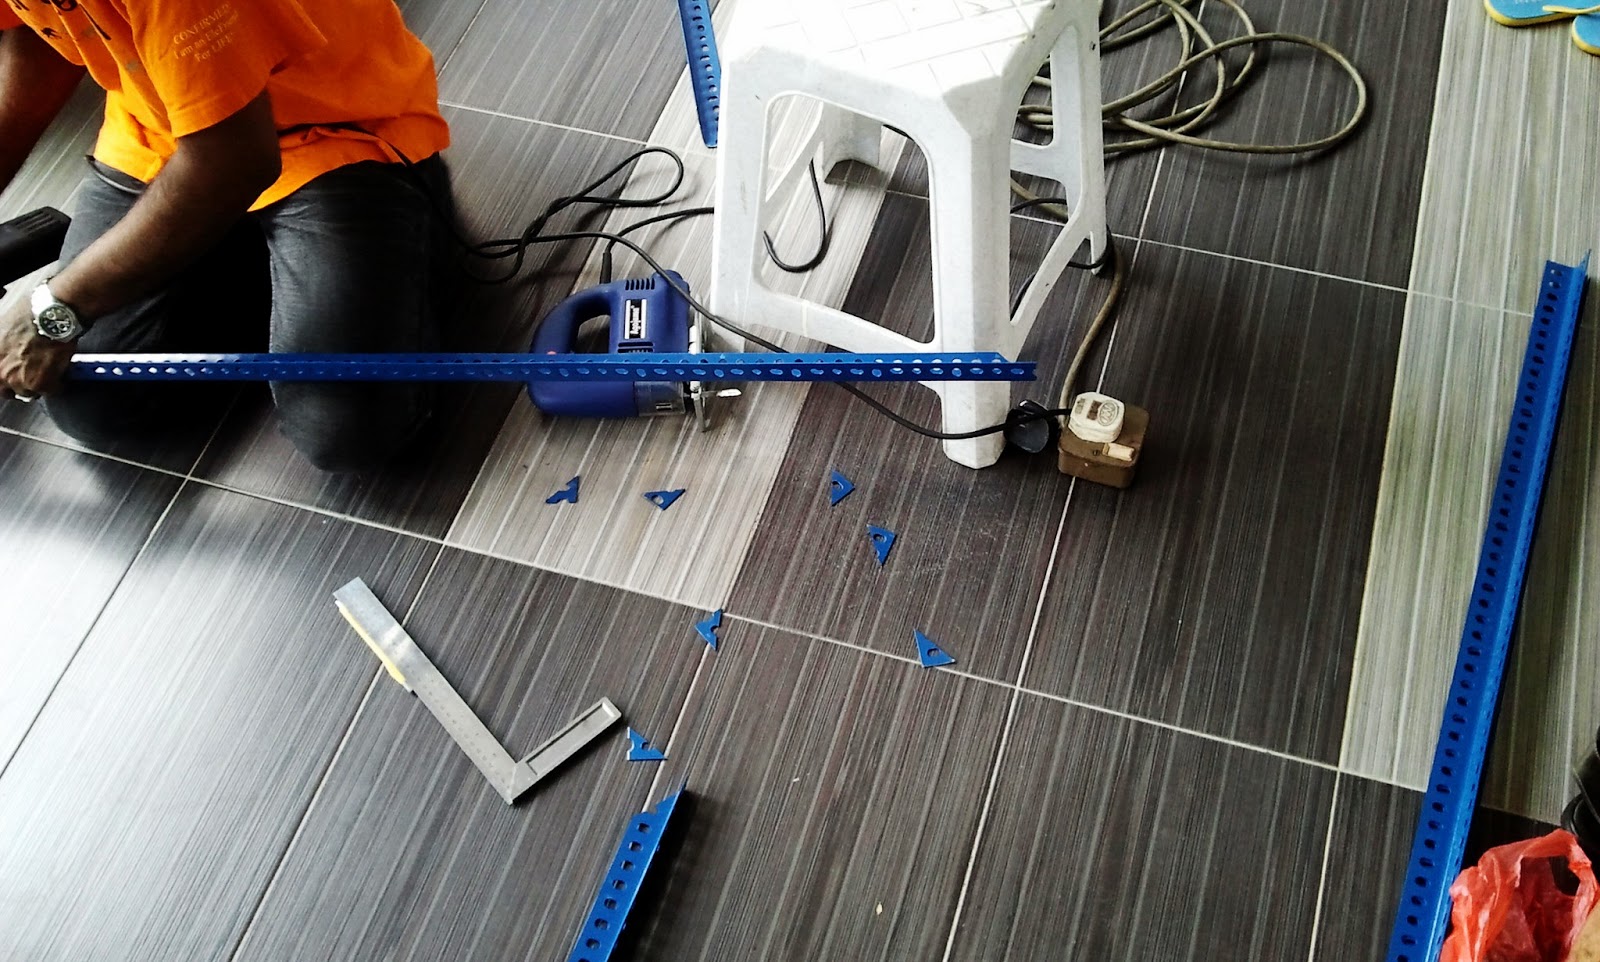 |
| Bare in mind that there were alot of calculations, physics theories and laws were put to the measurement before cutting it up |
 |
| 45 degrees cut to avoid them from overlapping |
 |
| Aircraft grade titanium bolts were used with thread sealant (just kidding, normal bolts found in our local hardware stores) |
 |
| This is the key to holding the structure in place, without it, you will have a dancing bbq pit |
 |
| Half a day went by and walllaaaa...the main structure is up and standing so solid as if it were on Viagra! |
 |
| Here comes the pain in the butt part....shaping the 1mm zinc to sit on the structure |
From here on my hands were really tied down (no picture taken during this process) as it was not easy making the zinc shape the way you want it to...after all the pain, cuts and back ache, below is the end results.
 |
| The top part of the angle line needs to be copped off |
 |
| The center bar was added to give the structure of the zinc some rigidness |
 |
| Its not really visible but the base on the zinc is layered with a thick grill for the charcoal to sit on and the ashes from the charcoal will go right under. |
As this was the first time for both of us to construct this piece of art, i took us the whole day to complete, several cans of beers, several cups of coffee, and most importantly a big fat bag of laughter and joy.
The end results made it look like as if it had eyes..haha...its actually an opening to place the charcoal so we dont have to remove the top part when we want to top up the charcoal.
All in all, very satisfied with the results and wait to see this in action!


